
Ever since I saw Carol Danvers new Captain Marvel uniform I've wanted an everyday version of it. I think the design is sleek, attractive and very wearable. However, I can't make clothes from scratch. So as maternity clothes are so bloody dull I decided to customise a basic navy blue t-shirt and put the major elements of Carol's uniform on it.
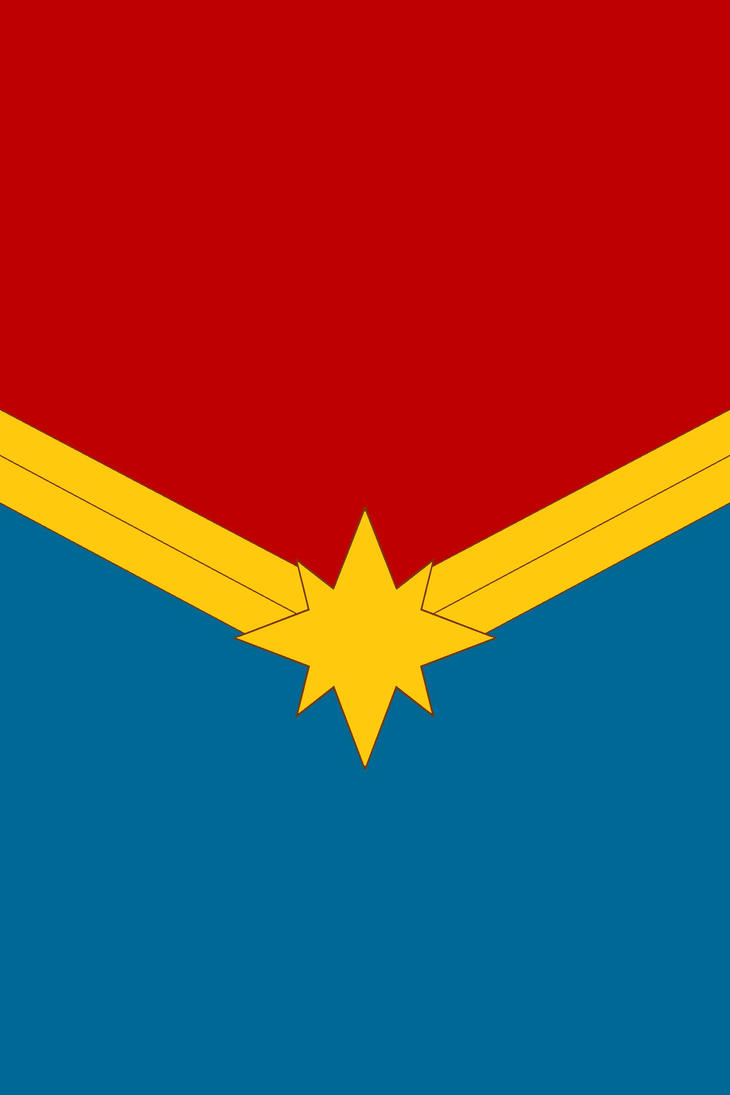
This is her uniform:

My t-shirt is a navy blue version of this one from Mothercare's Blooming Marvellous range:

I used yellow material leftover from my Supergirl t-shirt, and bought new red fabric that matched the feel and stretch of the t-shirt. I also used paper thin enough to trace images from my laptop onto, fabric scissors, pins, a sheet of bonda web, yellow and red thread and a disappearing ink pen. Then I started making it, using this process:
The Star
- Find a decent image of the star design online. I used this one from this site.
- Save the image as a jpeg onto your desktop, zoom in to the size you want and then trace the shape onto paper. Don't piss about trying to work out how to scale up from the original picture size. This sort of geometric pattern doesn't get fuzzy enough (when enlarged) to be a problem.
- Straighten up the hand drawn lines with a ruler and make a copy of this star template.
- Mark the front of your paper template with 'front'.
- Put your t-shirt on. pin the paper star in place on your t-shirt.
- Still with the t-shirt on, put a pin on the edge of the tee roughly where you want the gold bars to end.
- Take off the t-shirt (carefully, without impaling yourself), use some more pins to place where you think one double gold stripe should go - check against your reference material to see how the stripes come out of the star. The pins should look something like this:

- Put your paper on the tee and trace the rough shape you want. Just trace the shape of the double stripes, don't split them into two yet.
- Tidy up the lines with a ruler. Cut out the bar (write front right on it). If you flip it over you should have a bar that fits the other side of the star. Write front left on this.
- Measure the height of your stripes and cut them in half, horizontally. My stripes are 4.5cm in height, so I am cut them at the 2.25cm mark.
- Make a couple of copies of these.
Your templates should resemble this:

The Red Bits
- Place your paper on the tee, over the blank material above the stripes. Roughly trace the shape of the top of the tee, Tidy up your lines on the paper, cut out the template and mark front left or front right on it. Make copies of this template.

Cutting out the fabric
- Get your copies of the star and bare templates. Flip them over (so the side saying front is facing the material) and place them on the relevant bits of fabric. Draw round the template with a disappearing ink pen. Do it this way in case the ink doesn't disappear as well as you thought. I figure that is the ink doesn't disappear the marks will be on the back anyway.
- Remember to cut the shape out of the fabric according to where the stretch is, e.g. widthways or heightways.
- As this is a maternity tee I wanted the stretch to go horizontally, because I figure as my boobs expand horizontally will be a better fit than vertically and as the stripes are quite short in height, an horizontal stretch also seems sensible.
- With the star, given that the star isn't asymmetrical (is that the right word?) make sure you've got the points of the star set up right when drawing round it on the fabric.
- When you cut out your stripes in the fabric, make them longer than the paper templates - just in case your template isn't long enough (a few millimetres short will cause a problem). You can always cut them down to length once you've stuck the fabric on.
- Remember to use fabric not paper scissors to cut out your material.
- Repeat the above steps with bonda web, but using a pencil instead of the ink pen.
Putting it all on the t-shirt
Line up the bits of paper bonda web strips on the t-shirt, just to make sure it all roughly fits together, a la:
- Get the star lined up right then everything else with follow. It's handy having a v necked t-shirt as you know the top point of the star needs to sit right in the lowermost point of the v.
- Place the bonda web under the yellow star then iron it on, according to bonda web instructions.
- Do each gold bar one at a time, using the star to line everything up. It is fiddly!
- The star and one bar will look like this (the white stuff is a piece of bonda web):

- Remember how I said to make the fabric and bonda web pieces longer than that paper templates? Now you have put the fabric on you can cut it (and the bonda web) to size, making sure they end right at the t-shirt seams.

- Once the yellow is on put your red paper templates on. if you are me, you now discover they don't fit right, so make a note on how to change them and cut out more fabric and bonda web as required.

- Iron the red bits as as for the yellow parts.
You'll end up with this:

Remember how I talked about a patch job? This is the gap on the left side which I ended up patching with a small bit of extra red:

Finishing it off
- I used the sewing machine to sew around each yellow and red edge (as close to the edge as possible) just to make it a look a bit tidier and less like a 5 year old and been let loose with fabric.
- On the yellow star, I ended up having to sew some of it backwards, because I forgot that you can swivel the fabric around as much as you'd like to make it sew forwards. This is why you shouldn't sew when angry.
- When sewing the red fabric around the t-shirt seam, be careful that you don't sew over the inside seam, like this:

Sewing over the seam means that your stitching on the other side will be wonky, like this:

In my case the fabric ended up bunched up like you can see in the picture, and I had to unpick a section. This may not have happened quite so badly if the fabric was properly glued, but as you can see the bonda web and/or fabric wasn't all the way to the seam.
You can avoid this bunching happening by lining your fabric up right on your sewing machine and pushing this seam to the right of your needle.
The end result:


Close up from earlier, so you can see how it sits naturally:

Here is a close up of the raggedy bits:

I am definitely not going to extend the yellow and red around the back of the t-shirt. This was enough for me, and took me hours. Probably about 7 hours in total, because I'm slow. I might try and find some yellow beads to put on the neck line, to mimic the ones on her gloves.
I guess this makes me a member of the Carol Corps.
No comments:
Post a Comment